Adding & Editing Wardrobes
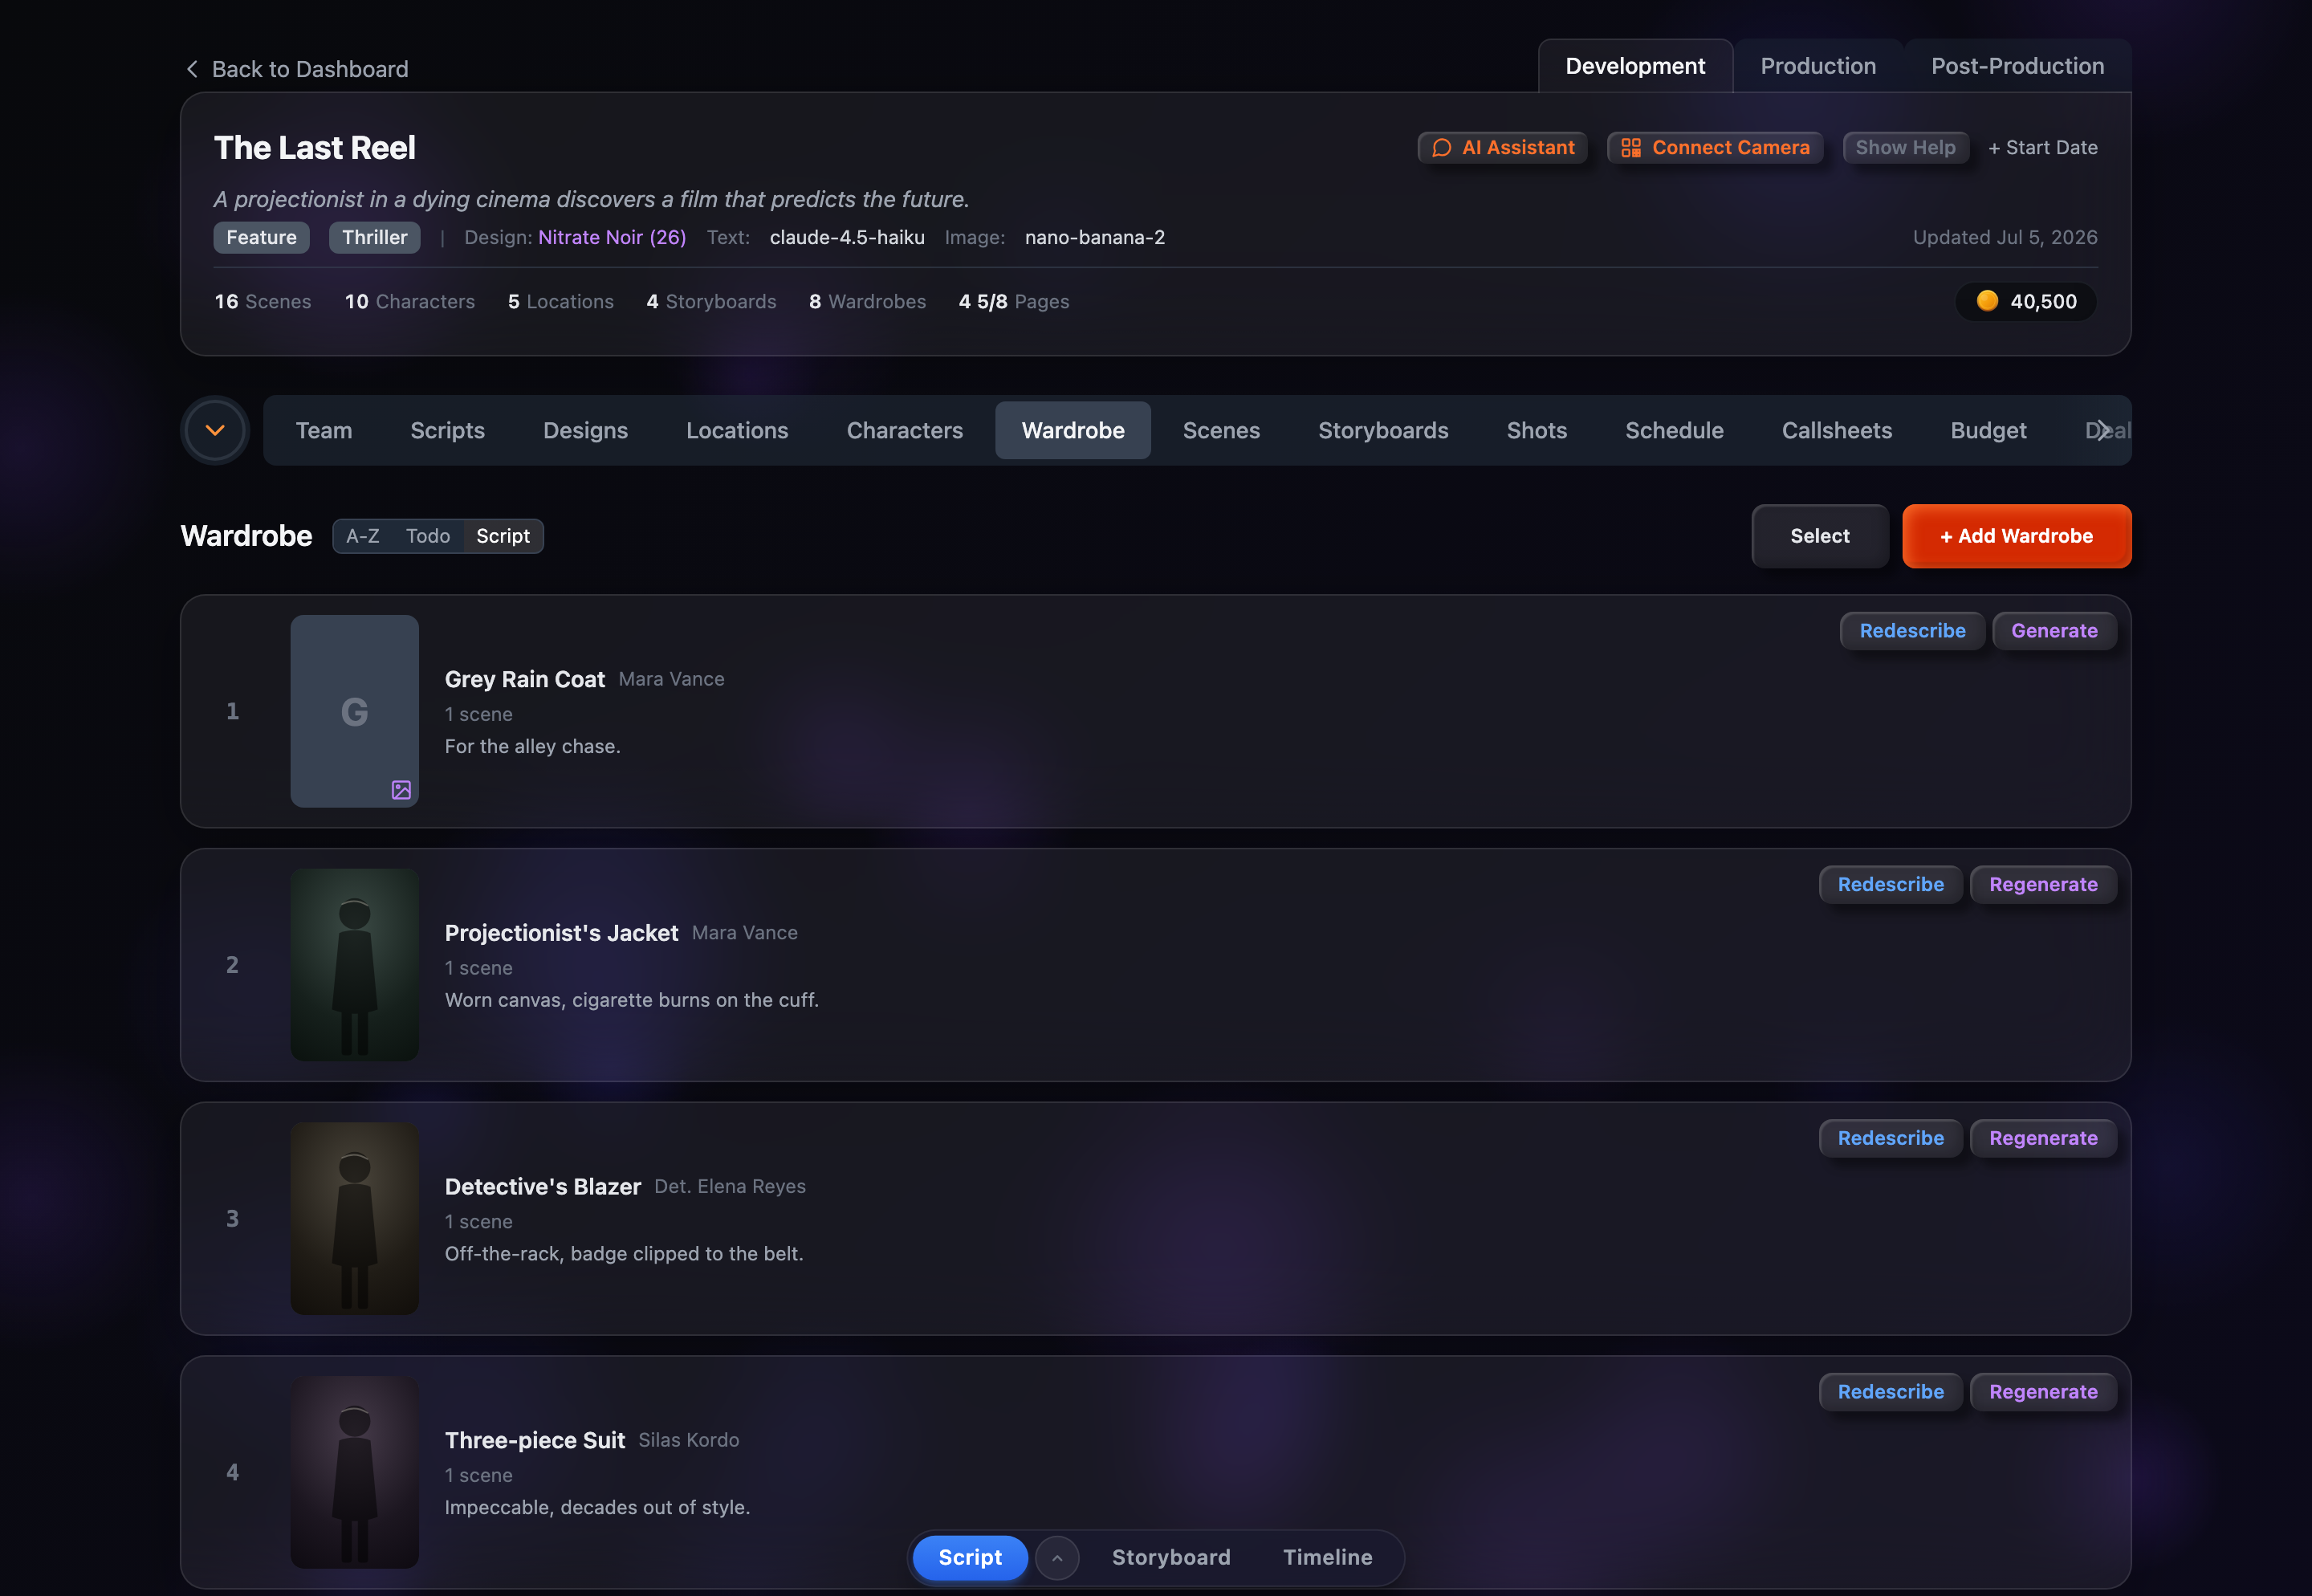
Default wardrobes are created with each character. Use + Add Wardrobe to add extra costumes, editing names and descriptions inline by clicking them. The per-row Describe button writes a costume description for you — and saving a description auto-renames the wardrobe from its garment keywords.
Adding a Wardrobe
Click + Add Wardrobe at the top-right of the Wardrobe tab. An inline form drops in above the list with these fields:

- Character (required) — A dropdown of the project’s characters. Pick who the costume belongs to.
- Describe Clothing (required) — A text field (placeholder “e.g. Business Suit, Casual Wear...”). Whatever you type here becomes the wardrobe’s name — a short label or a fuller description both work.
- Default — A green toggle that marks this as the character’s default outfit. It switches on automatically when the character you picked has no wardrobes yet.
- Save / Cancel — Save adds the row; Cancel closes the form without saving.
Because a default wardrobe is created for you whenever a character is added, this form is mainly for the extra scene-specific costumes a character wears.
Renaming Inline
Click a wardrobe’s name in its row to edit it in place. Type the new name and press Enter to save, or Esc to cancel.
Editing the Description
Click the description text — or the italic “Click to add description...” placeholder when it’s empty — to edit it inline. When you save a description, the app runs deriveWardrobeTitle(), which scans for a garment keyword (dress, suit, coat, cloak, armor, and so on) and renames the wardrobe using up to two words in front of it. For example, “Victorian silk dress with pearl buttons” renames the wardrobe to “Victorian Silk Dress.” If no garment keyword is found, the name is left as-is.
Describe (auto-write a costume)
Every active row has a blue Describe button (it reads Redescribe once a description already exists). Clicking it generates a costume description from the wardrobe name and its character context, saves that description, and re-derives the wardrobe name from it. A spinner shows “Describing…” while it runs. This uses credits, so it’s skipped if your balance is empty.
Assigning to Scenes Happens Elsewhere
The Wardrobe tab is where costumes are created and described. Attaching a scene-specific wardrobe to particular scenes is done in the Scenes tab — see the Scenes guide for that flow.