 cinemasetfree.com
Adding & Editing Locations
Add locations with the inline form, edit the description straight on the row, and open the full Edit modal for addresses (with Google Places autocomplete), contacts, permits, costs, and notes. Use the Scout tool to map nearby services and check current weather for any location that has coordinates.
Adding a Location
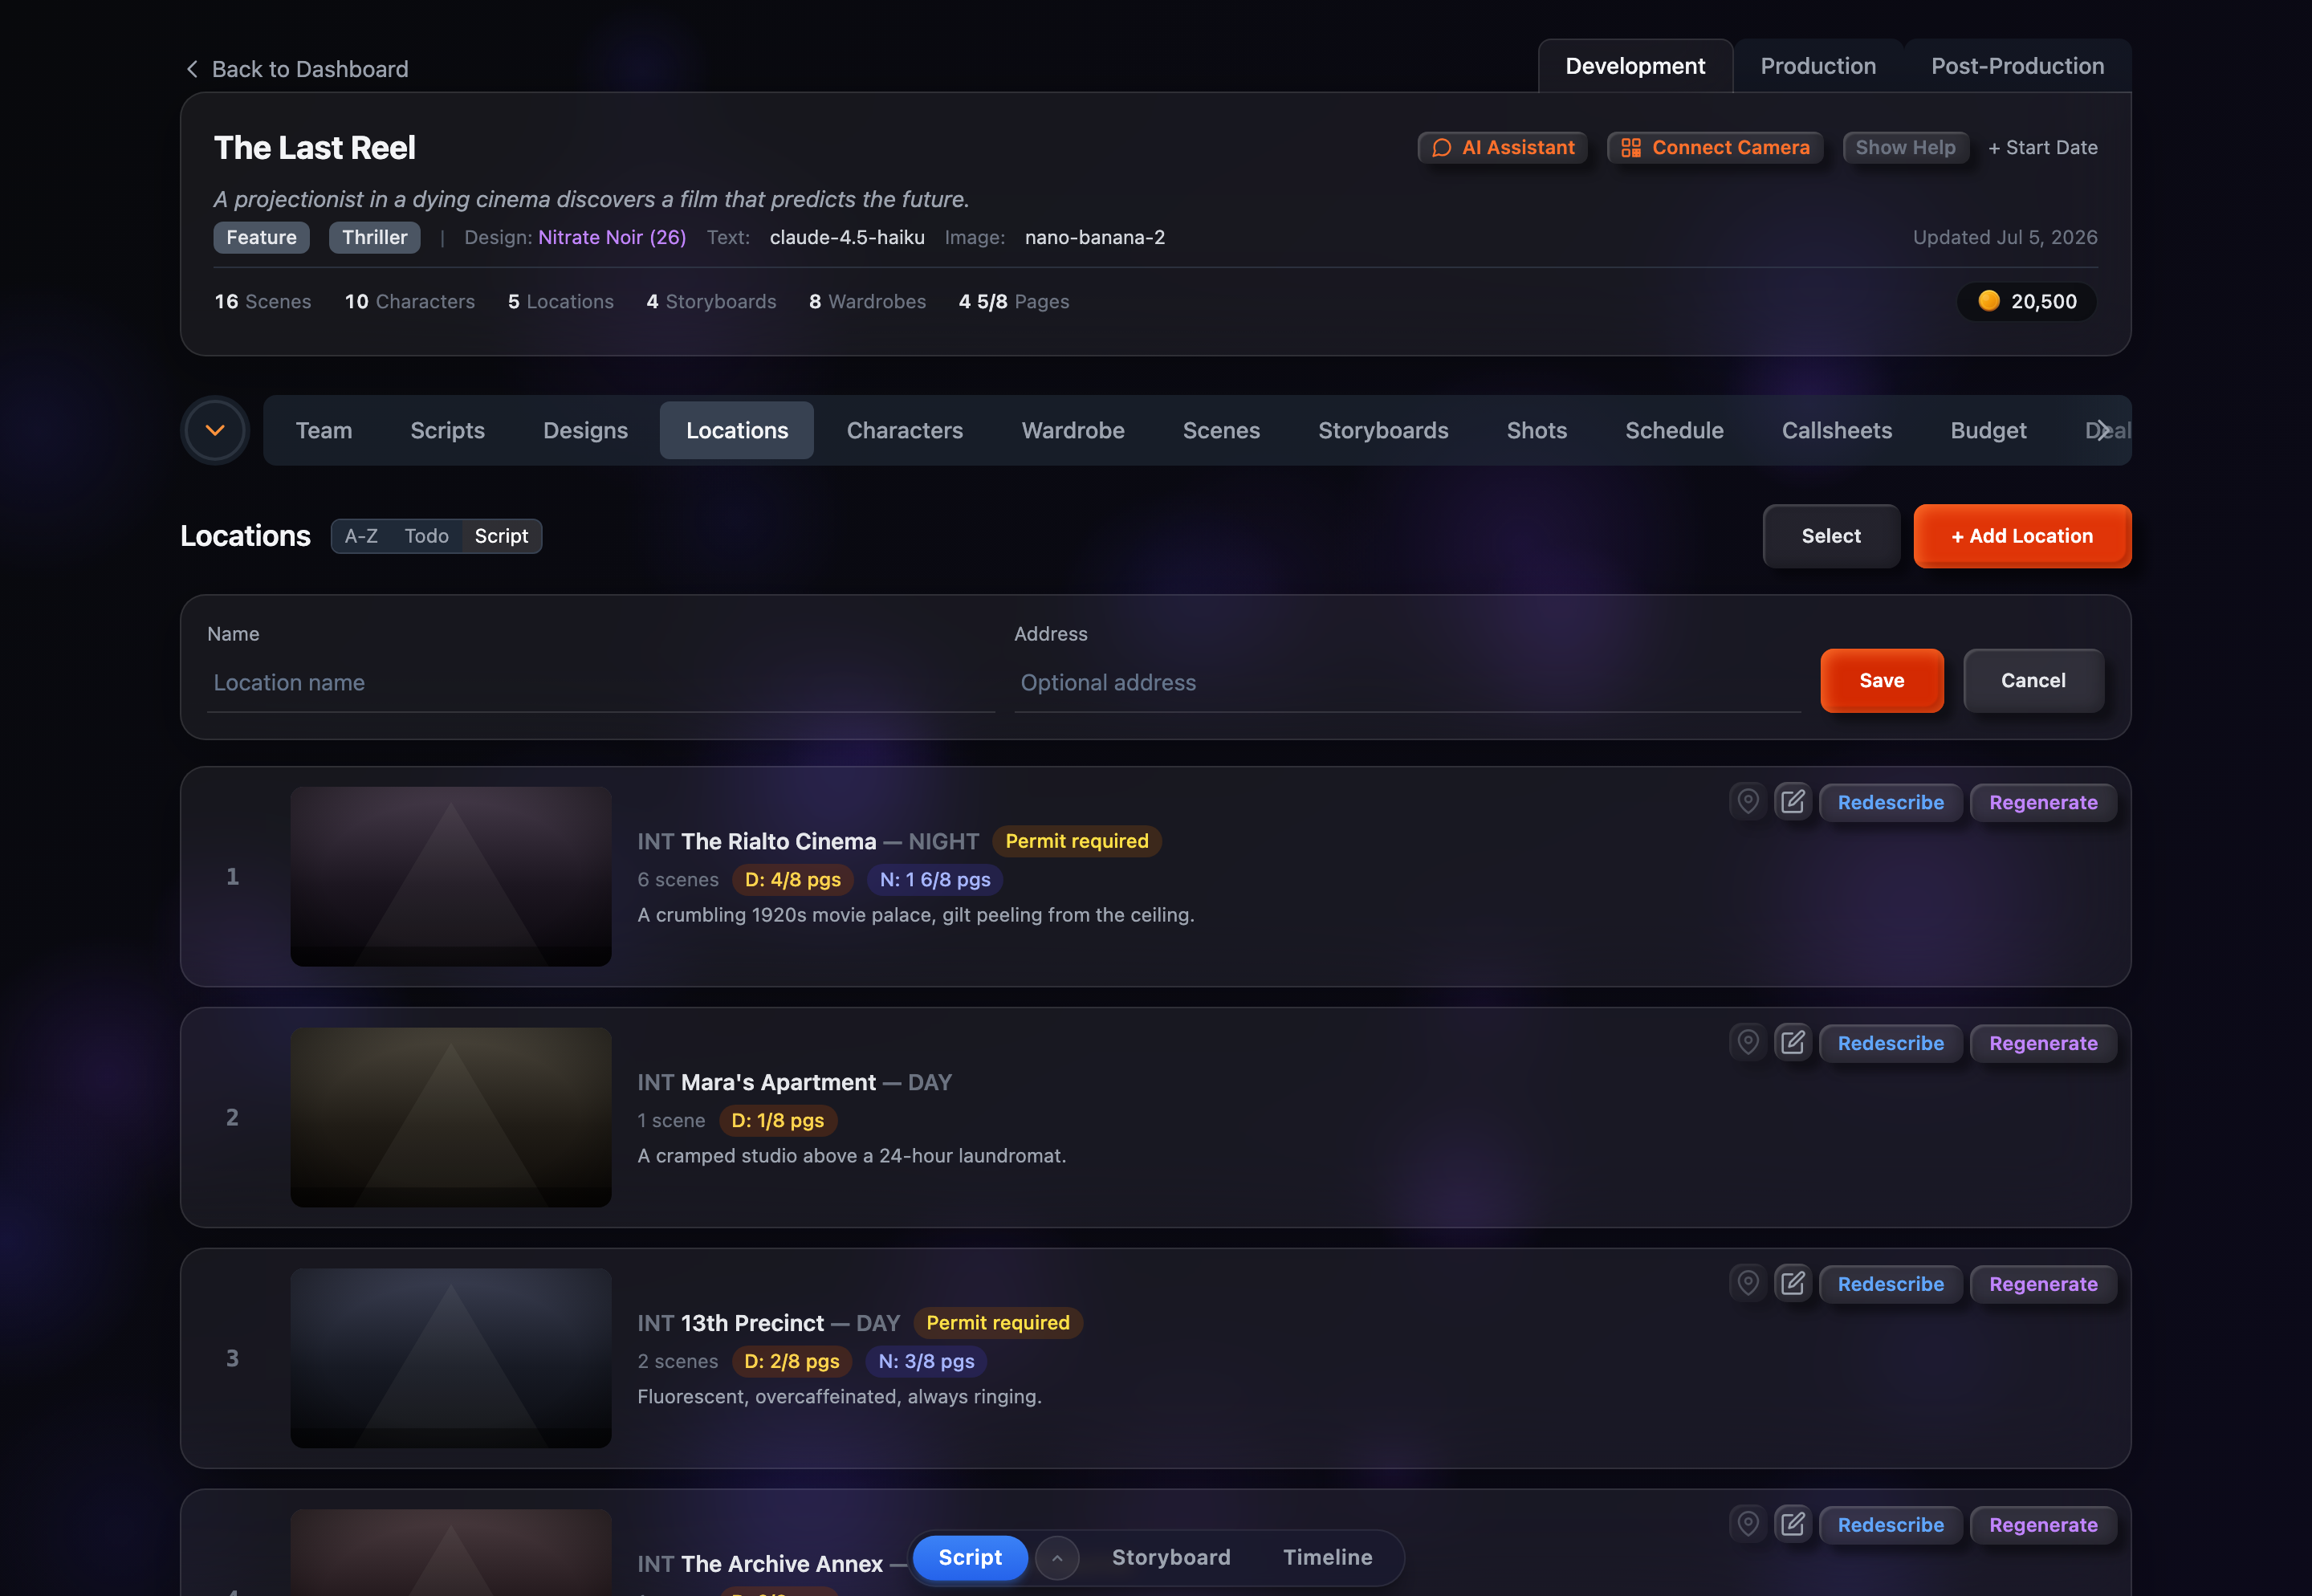
Click the + Add Location button at the top of the Locations tab. An inline form drops in with two fields:
- Name (required) — The location name (e.g., “The Rialto Cinema”, “13th Precinct”)
- Address (optional) — A street address, city, or general area. This field has Google Places autocomplete: pick a suggestion and the city, state, country, and coordinates are captured automatically
Click Save to create the location, or Cancel to discard the form. The new location appears at the bottom of the list; open the Edit modal afterward to fill in contacts, permits, and cost details.
Editing the Description Inline
Each location row shows its description text. Click it to switch to an inline editor — save with Enter (or blur) and cancel with Escape. Locations without a description show an italic “Click to add description…” placeholder you can click to start writing. The same description is also editable inside the full Edit modal.
Auto-Describe
Every location row has a Describe button (it reads Redescribe once a description exists) that writes an AI description from the location’s name and scene context — its predominant setting (INT./EXT.) and time of day. The result is saved straight back to the location record.
Auto-describe is also available inside the portrait modal, where it fills in a description if none exists and uses it as the basis for the image prompt. To describe many locations at once, use the bulk Describe action covered in the Bulk Operations guide.
The Edit Modal
Click the pencil button on any location row to open the full Edit Location modal. It groups everything about the location into sections: Name, Address (with description and coordinates), Contact, Permits & Availability, and Cost & Notes. Changes are saved when you click Save; press Escape or click outside to close without saving.
Address & Google Places Autocomplete
The Street Address field uses Google Places autocomplete — start typing and choose a suggestion. Picking one auto-fills the city, state, country, and latitude/longitude from the selected place. You can also type any of those fields (including latitude and longitude) by hand.
Coordinates matter: latitude and longitude are what enable the Scout button on the row. Without them the Scout button stays disabled and reads “Add coordinates to scout.”
Location Scouting & Points of Interest
The Scout button (map-pin icon) on a location row opens the scout modal — available only once the location has coordinates. When it opens it drops a red pin at the location, auto-searches for nearby services, fits the map to show them, and (if the location has no saved services yet) saves that first result set automatically.
The scout modal includes:
- Interactive Google Map — Centered on the location with a red pin, plus colored, shaped markers for each nearby service
- Nearby services — Auto-finds the closest grocery (green circle), ER / hospital (blue square), and gas station (orange diamond), each with its distance in miles
- Edit alternatives — Click Edit to see up to five nearby options per service type and pick a different one; the marker and list update as you choose
- Add Custom POI — Search any category (e.g., Police, Park), pick a marker color and shape, and add it to the map. Custom POIs save immediately, and each has an × to remove it
- Click to focus — Clicking any service in the list pans and zooms the map to it
- Current weather — Temperature, condition, humidity, wind speed and direction, UV index, and cloud cover at the location
- Get Directions — Opens driving directions to the location in Google Maps
A Save button appears in the modal header once you change a selection; click it to store your chosen services on the location. The saved services are what later show up on call sheets.
Contact Information
The Contact section stores a contact name, phone number, and email for the location manager or property owner — keeping the details your team needs for access right on the location record.
Permits & Availability
The Permits & Availability section tracks everything about filming permissions and scheduling:
- Permit Required toggle — Flips a switch that puts a yellow “Permit required” badge on the location row
- Permit Notes — Free text for application status, conditions, or anything else about the permit
- Availability Notes — When the location is accessible, time restrictions, seasonal notes, or booking windows
Uploading a Permit Document
You can attach a scanned or photographed permit directly to the location, keeping the paperwork alongside the notes.
- Accepted formats — PDF, JPEG, PNG, HEIC, HEIF, TIFF, and WebP
- Previews — Image files get a thumbnail; PDFs show a document icon with the file name
- View — Opens the stored document in a new browser tab
- Replace or remove — Upload a new file to swap it, or click Remove to delete it
Cost & Notes
- Daily Rate — Cost per day for the location, entered in dollars
- Notes — A free-form field for anything else: parking, power access, noise, crew staging, and so on