 cinemasetfree.com
Timelines Overview
A timeline is an editing cut of a single scene. The Timelines tab lists every scene in your project as a row: scenes without a cut show a dashed “Click to create timeline” placeholder, and scenes with one show a timeline card you can name, revise, and open in the editor. It’s a Post-Production feature and part of the PRO plan.
What Is a Timeline?
A timeline is an editing assembly for one scene — the place where that scene’s shots are laid out in order so you can build a cut. Each timeline record stores a name (it starts life as “Rough”), a version number, a status, and optional notes, and it’s tied to the scene it belongs to. When you open a timeline you get an edit-bay style view of that scene’s shots, generated clips, and reference takes.
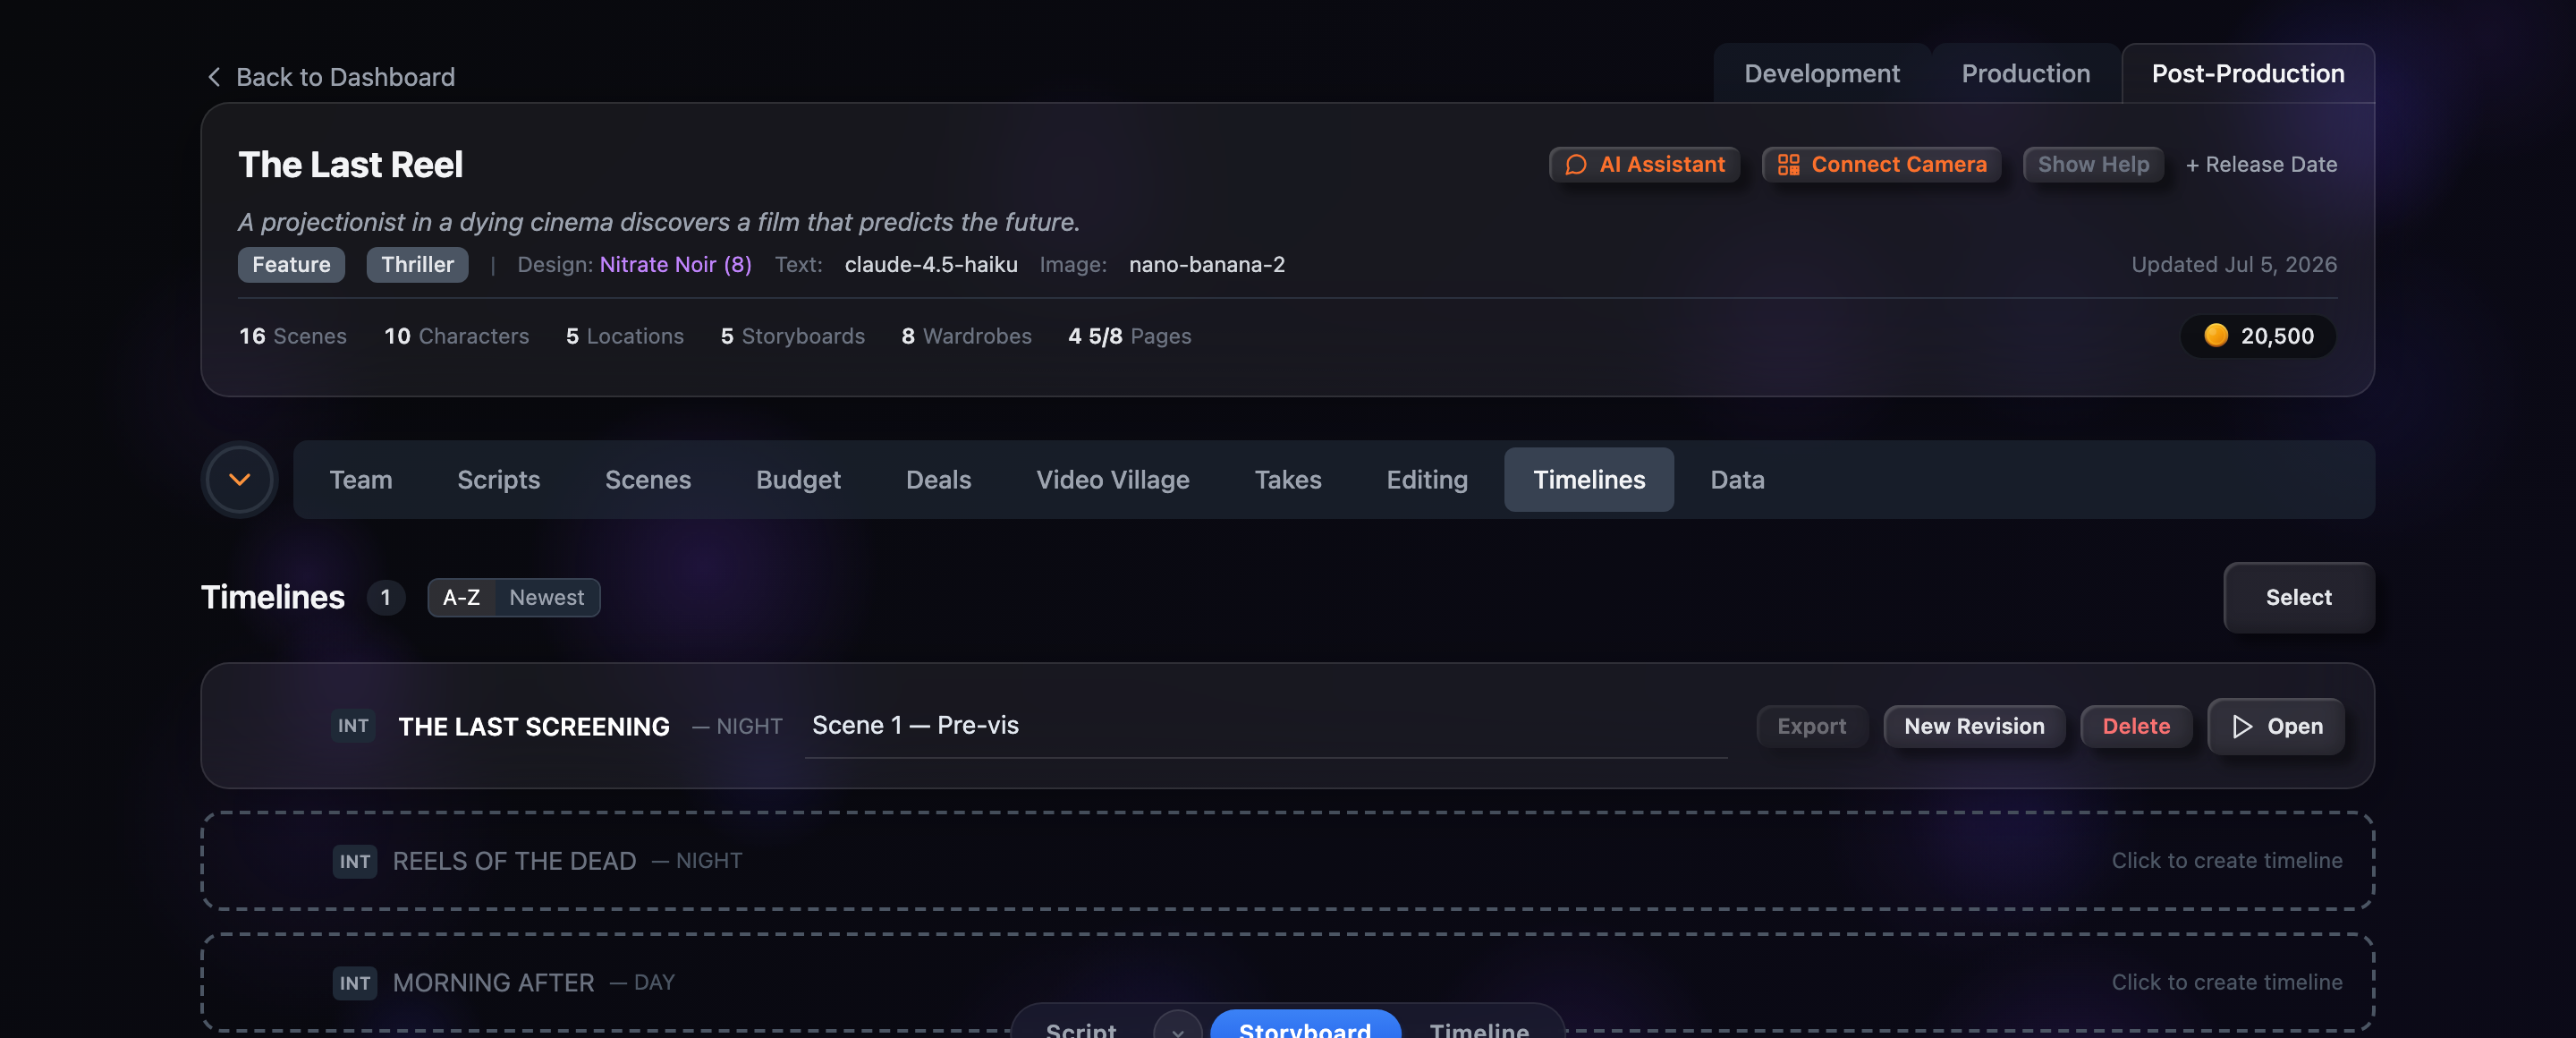
When a project is fresh, the list is mostly dashed placeholders — one per scene — waiting for you to turn each one into a cut.
A Row Per Scene
The tab always shows one row for every scene in the project, in script order by default. There are two kinds of row:
Dashed Placeholder
A scene with no timeline yet. The dashed row shows the scene number, the setting tag (INT/EXT), the scene title, and the time of day, ending with a “Click to create timeline” hint. Clicking anywhere on it creates the cut.
Timeline Card
A scene that already has a cut. The solid card carries the same scene heading plus an editable name field and the row’s action buttons — Export, New Revision, Delete, and Open.
When a scene has more than one revision, the row shows its latest version. A small count badge next to the “Timelines” heading tells you how many cuts exist so far.
Where Timelines Fit
Timelines sits in the Post-Production stage of your project, downstream of everything you built during prep and the shoot:
A PRO Post-Production feature
Timelines only appears in the Post-Production stage of a project, and it’s gated behind the PRO plan. If your plan doesn’t include it, the tab shows a small Pro badge and the feature stays locked.
Getting Started
Switch to the Post-Production stage and open the Timelines tab. You’ll see your scenes listed as dashed placeholders. Click one to create its first cut, give it a name, then press Open to start arranging shots. The next guides cover each step in detail.