 cinemasetfree.com
Generating Images
TL;DR — Generate panel images one at a time or in batches, refine them with image-to-image edits, upload your own artwork, and step back through every version.
Generating a Single Panel
Once a panel already has an image, hover over it to reveal the circular regenerate button in the bottom-right corner, which re-runs generation with the current prompt. You can also click a panel to open its detail view and use the Generate (or Regenerate) button there. Every generation is saved as a new version of the panel image.
Batch Generation
In edit mode, select the panels you want and click Generate (N) in the toolbar to generate them together. Each selected panel shows an animated spinner while it renders and its image fills in as soon as it’s ready, so you can watch the storyboard populate.
Reference Images
Before a panel has an image, its frame shows the reference thumbnails that will be sent to the image generator — portraits for the scene’s characters, its location, and the scene itself. If a reference portrait hasn’t been made yet, it appears as a dashed + placeholder you can click to generate on the spot. A couple of them are ordered: generate the location portrait before the scene portrait, and a character portrait before its wardrobe portrait.
Panel Detail View
Click a panel to open a full-size overlay. It shows the image, the reference thumbnails, the image prompt broken into editable segments, and generation metrics for that panel — render time, input and output token counts, and estimated cost. From here you can regenerate, edit, upload, jump to the slideshow, or browse versions.
Image-to-Image Editing
In the detail view of a panel that already has an image, click Edit Image, type a description of what to change, and click Apply Edit (or press Enter). The AI modifies the existing image based on your instructions rather than generating from scratch, and the result is saved as a new version.
Uploading Your Own Artwork
Prefer to bring your own image? In the detail view, use Upload Image to pick a file, drag-and-drop a file onto the image area, or paste an image from your clipboard. The upload replaces the panel’s current image and is saved as a new version.
Version History
Because every generation, edit, and upload is kept as a version, the detail view shows version paging once a panel has more than one. Use ← Older and Newer → to step through them, and when you land on an older version click Use This Version to make it the panel’s image.
Negative Prompts
Each panel has its own Negative prompt field in edit mode — use it to list things to avoid in that image (for example “no text, no watermark”). It’s applied the next time you generate or edit that panel.
Cost Tracking
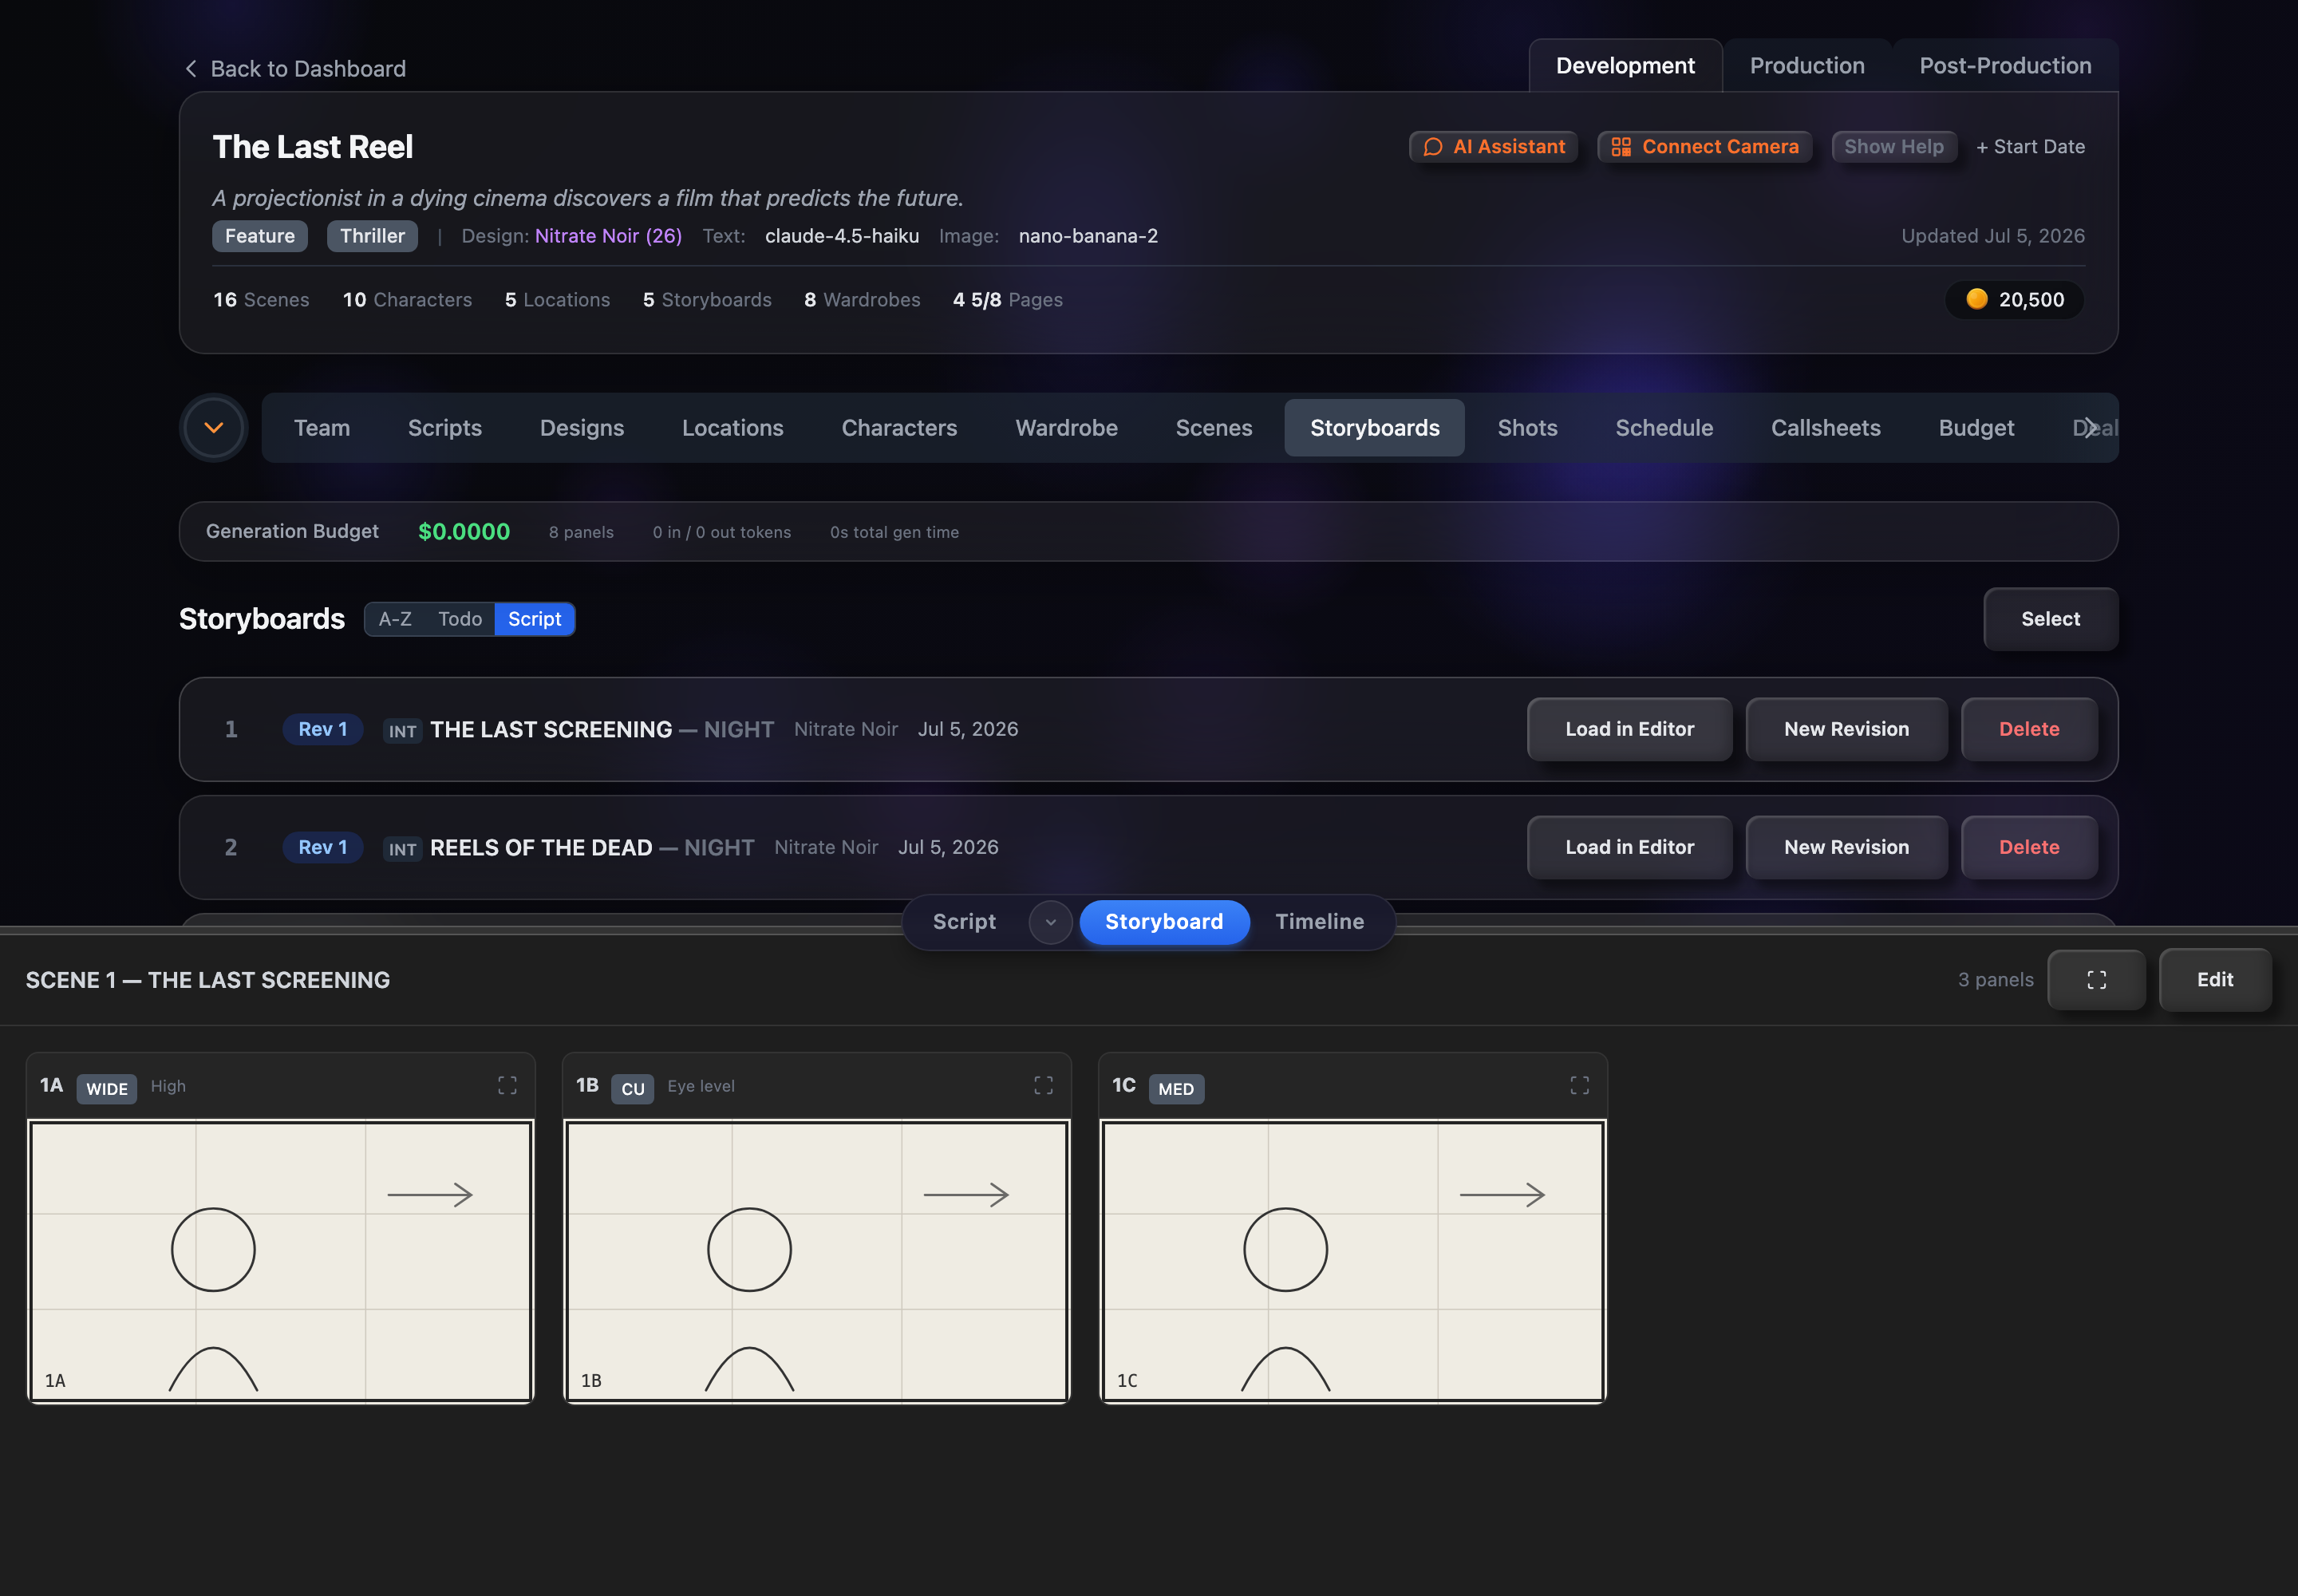
The editor toolbar shows a running estimate of the total generation cost for the storyboard, and each panel’s detail view breaks down its own render time, tokens, and cost. Across the whole project, the Storyboards tab’s Generation Budget strip totals everything you’ve spent.