Getting Started
TL;DR — Open the Schedule tab, click Generate Schedule, and your scenes are packed into an optimized set of shoot days in one click.
Your First Schedule
- 1Open the Schedule tab in your project’s Development stage.
- 2Click Generate Schedule in the top-right toolbar. On a phone, open the Actions menu and choose it there.
- 3Done. The algorithm builds an optimized shoot from your scenes and lays it out as shoot days.
You need scenes in the project first — import a script or add scenes on the Scenes tab. With nothing to schedule, the tab shows “No scenes to schedule. Import a script or add scenes first.”
The Schedule Board
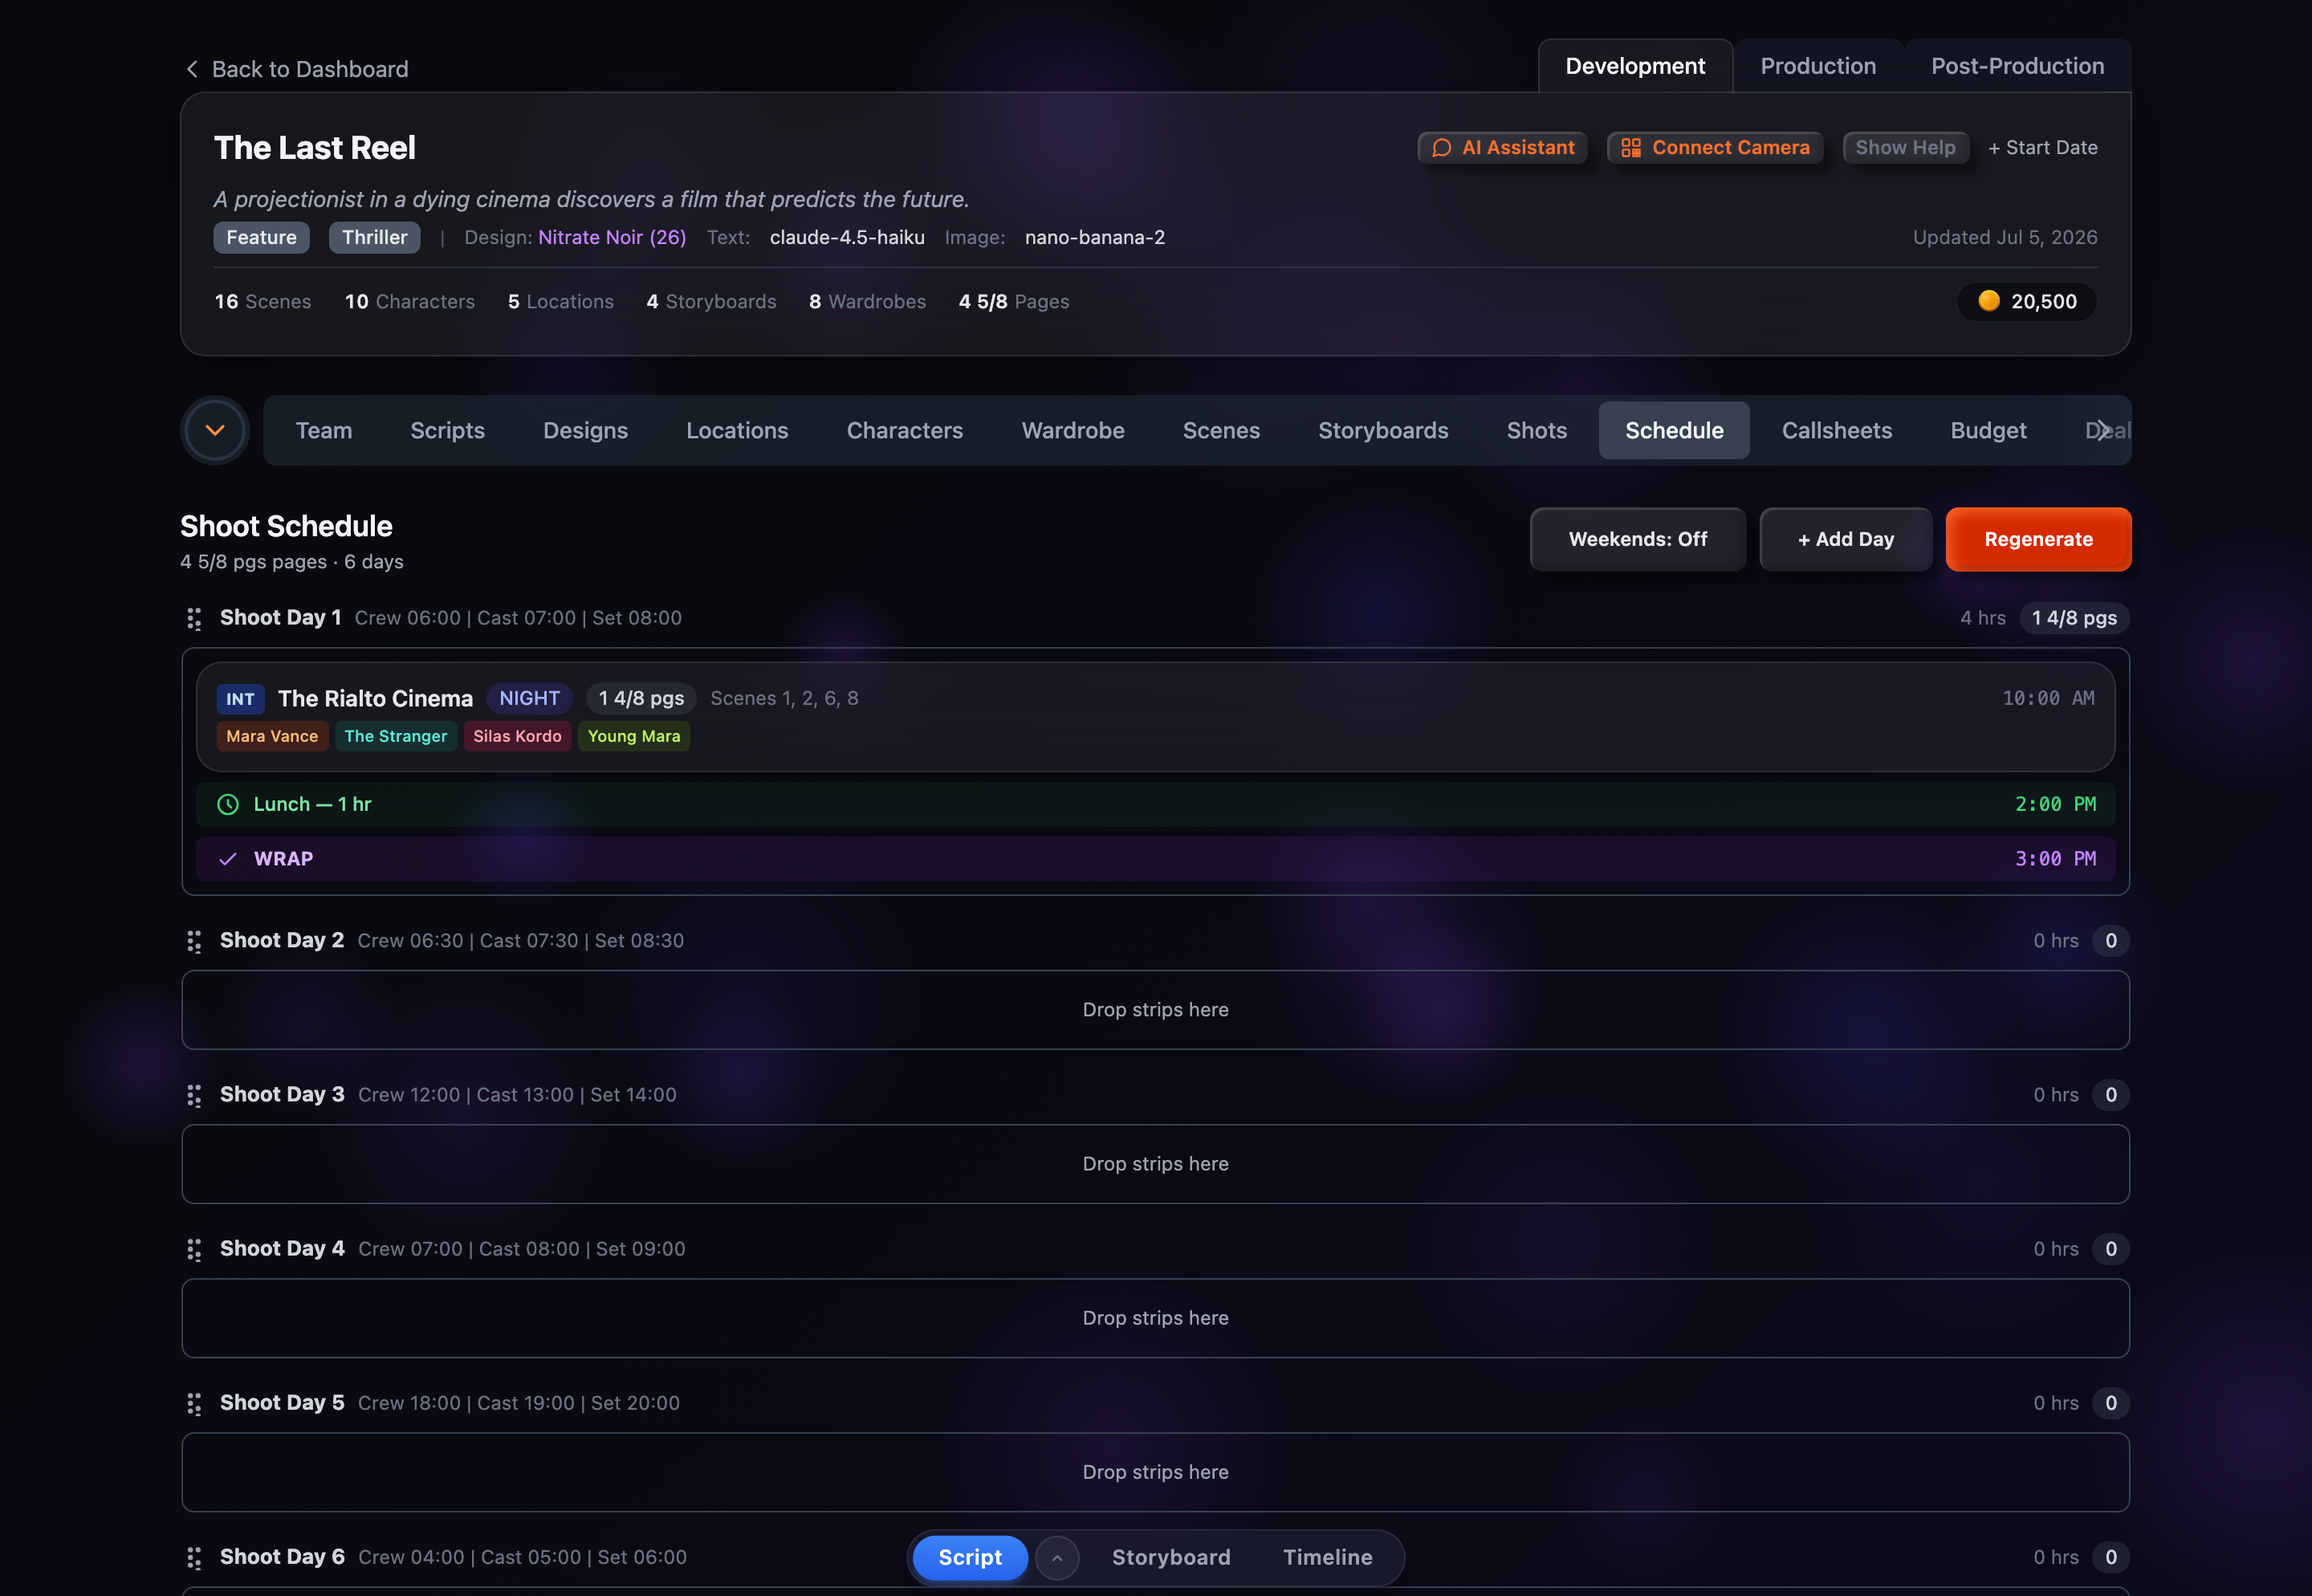
The board header shows the project’s total page count and shoot-day count. The toolbar holds the Weekends toggle, + Add Day, and the Generate Schedule / Regenerate button. Below that, each shoot day is stacked in order, and any strips not yet assigned to a day sit in the Unscheduled pool at the bottom.
How Strips Work
Scenes that share a location and time of day are grouped into a single strip. For example, all the “INT. OFFICE — DAY” scenes become one strip, while “INT. OFFICE — NIGHT” is a separate strip. Scenes flagged CONTINUOUS attach to the previous strip automatically. Any strip that runs too long (more than about a page and a half) is split at a scene boundary into smaller strips.
What the Algorithm Does
- 1Split — Oversized strips are divided at scene boundaries so no single strip is longer than about 1.5 pages.
- 2Sort — Day strips are ordered first, night strips second, grouped by location within each phase.
- 3Bin-pack — Strips are packed into days, keeping each day under about 3 pages and to at most one company move.
- 4Re-sort — Each day’s strips are re-sorted by location and time of day so the day flows in a logical shooting order.
Regenerating
Once a schedule exists, the button reads Regenerate. It asks you to confirm before clearing everything — all manual edits (reordered strips and days, and any strips you moved by hand) are discarded and the schedule is rebuilt from scratch. Use it when your script has changed enough that you want a clean start. Day details you typed in, like call times, live on the shoot days themselves and are removed along with the days when you regenerate.