 cinemasetfree.com
Editing Overview
The Editing tab is a Post-Production feature (Pro). It gathers every take you’ve uploaded and organizes it into one bin per scene. Each bin lays out all of that scene’s shots in storyboard order — filling captured shots with a video thumbnail and marking the rest as “not filmed” — and automatically picks one take per shot (a circled take first, otherwise the latest take) so you get an instant rough assembly you can play, version, and export to Premiere or Final Cut.
What the Editing Tab Is
Once you start uploading takes during the shoot, the Editing tab becomes the place where those clips come together. Rather than a single flat pile of video files, it sorts your footage into a bin per scene and, inside each bin, arranges the individual shots in order. The result reads like a first pass at the edit: every scene laid out, every shot slotted, and a best-guess take already chosen for each one.
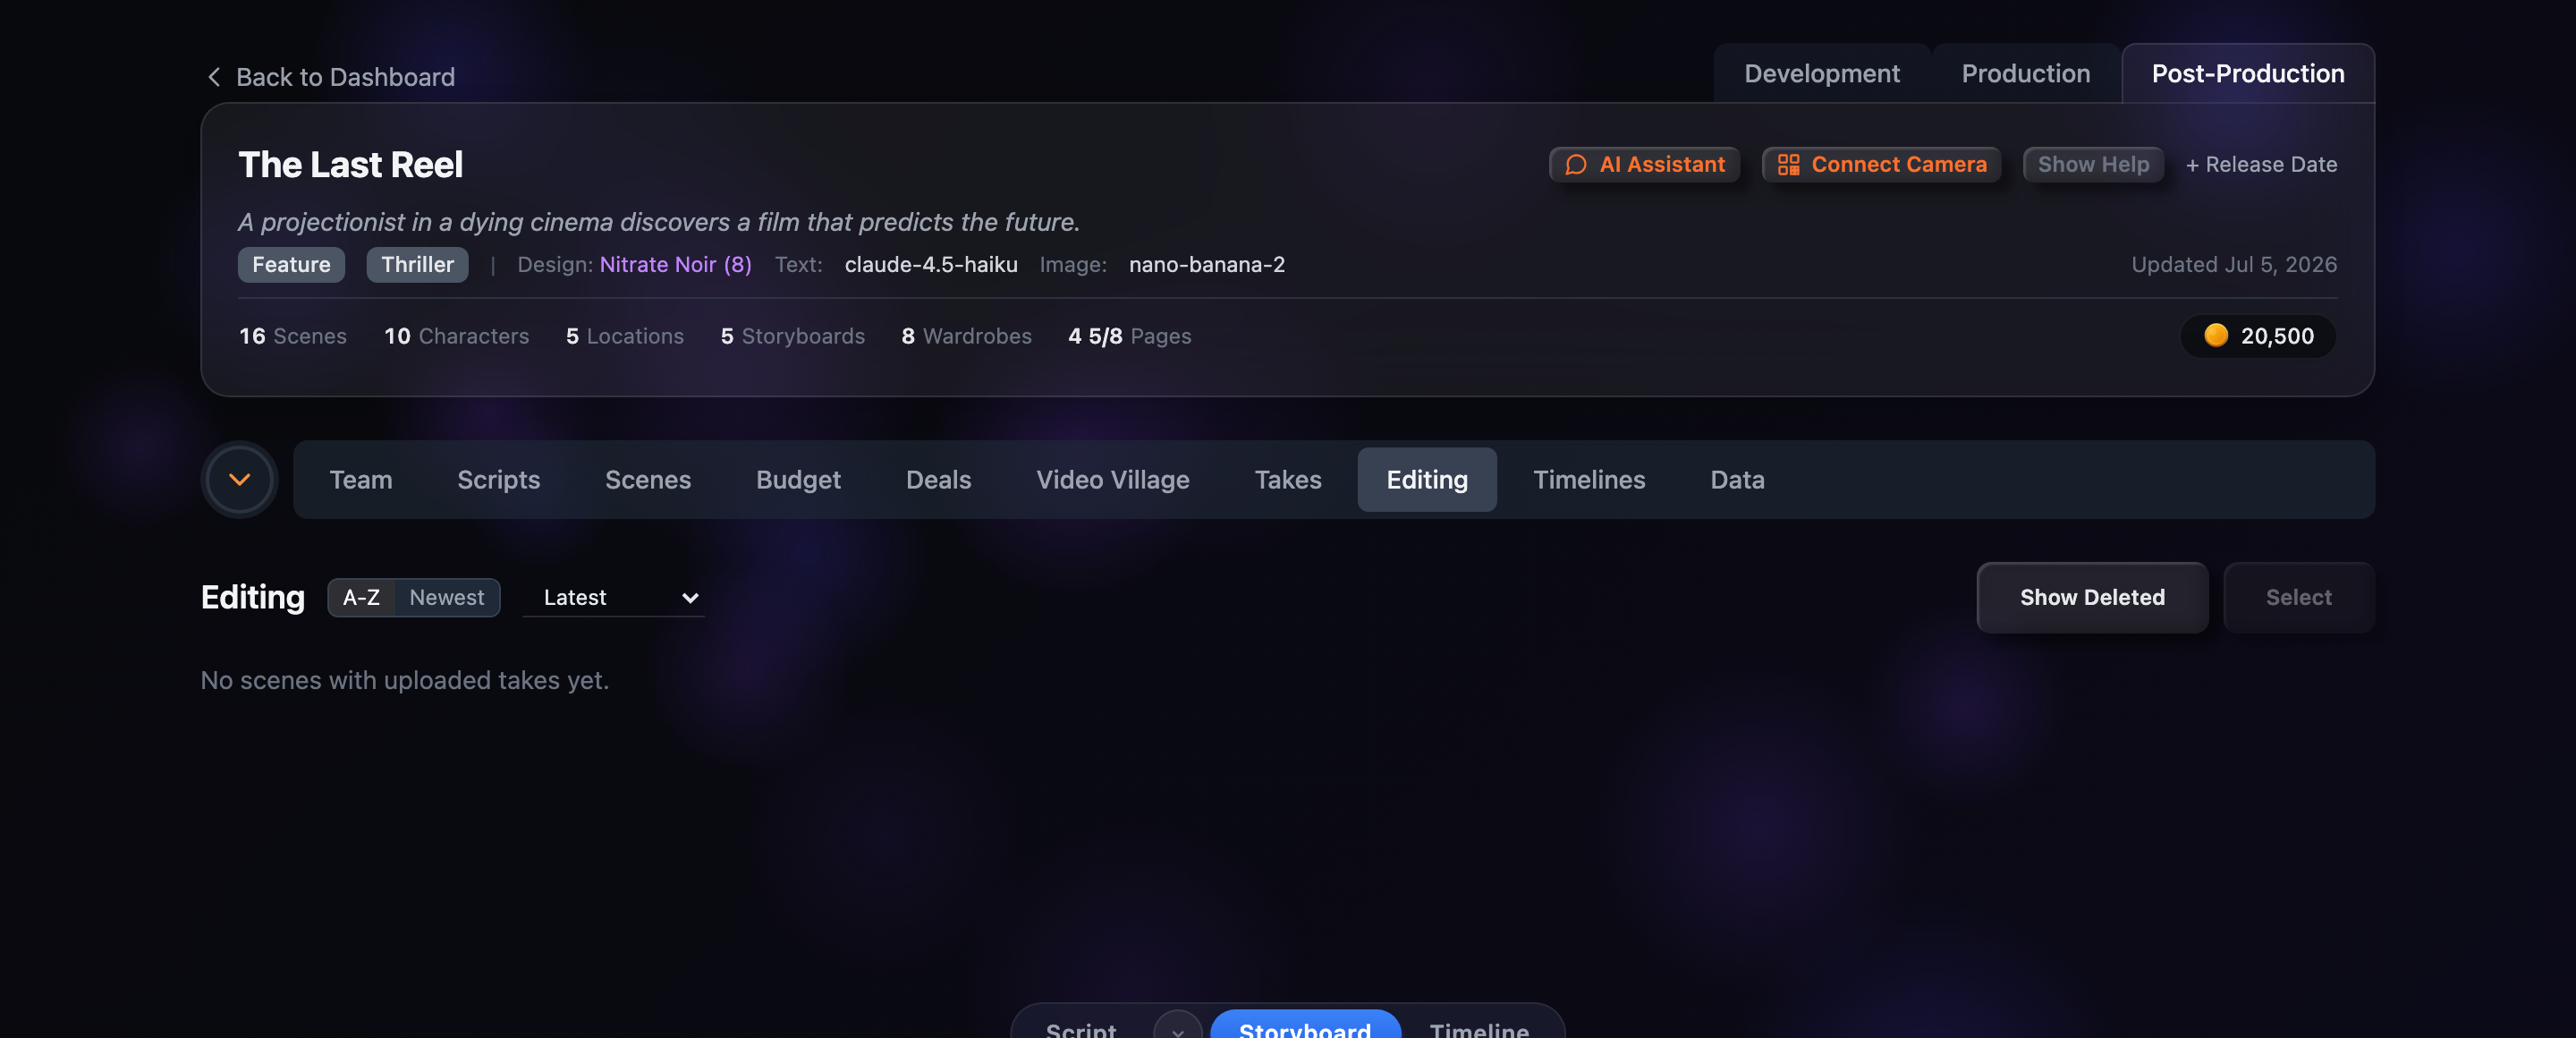
Editing lives in the Post-Production stage and is a Pro feature. If your plan doesn’t include it, the tab shows a Pro badge in the tab bar.
Where Bins Come From
You don’t create bins by hand. When the tab loads, it reads all of your project’s takes, keeps the ones that actually have video, and groups them by scene. For every scene that has at least one uploaded take, the tab makes sure a bin (internally a cut) exists — creating a draft one automatically if you don’t have one yet. Scenes with no footage simply don’t appear.
That means the list grows on its own as you shoot: upload takes for a new scene and a fresh bin shows up here the next time you open Editing. Until any footage exists, the tab shows “No scenes with uploaded takes yet.”
Takes supply the clips
Every thumbnail in a bin is a take you uploaded from the shoot. A take carries a shot label (like “1A”), a take number, a duration, an optional circled flag, and its video.
Shots supply the layout
The full list of shots for each scene comes from your storyboard and shot list, so a bin shows every planned shot — even the ones you haven’t filmed yet.
Anatomy of a Bin
Each bin is a card in the list. Across the top it shows a row number, the scene number and title, a color-coded version badge (v1, v2, and so on), and a shot-count badge like “3/5 shots” that tells you how many of the scene’s shots have footage. Deleted bins are dimmed and tagged Deleted. On the right sit the per-bin actions — New Version, Play, and Export.
Below that is the shot strip: one tile per shot in the scene, left to right.
Captured shots
Show a video thumbnail with the take label (e.g. “1A-3”) and its duration. A small filled circle in the corner marks a circled (selected) take. Click a tile to play it.
Uncaptured shots
Show a dashed placeholder with the shot label and the words “not filmed,” so gaps in your coverage are obvious at a glance.
How the Rough Cut Is Auto-Selected
A scene may have several takes of the same shot, but a rough cut needs just one of each. The tab picks automatically, one take per shot label, using a simple rule:
These chosen takes, ordered by shot label, are what the bin plays back and what an export writes out. Circle a different take in your footage and the bin follows your lead the next time it loads.
What You Can Do From Here
Once your bins are laid out, the rest of the workflow branches into a few tasks:
- — Play a take or a whole bin in the built-in viewer to review your coverage.
- — Spin up new versions of a scene’s cut and filter the list by version.
- — Export to Premiere or Final Cut, and sort, filter, or bulk-manage your bins.