 cinemasetfree.com
Exporting & Managing Bins
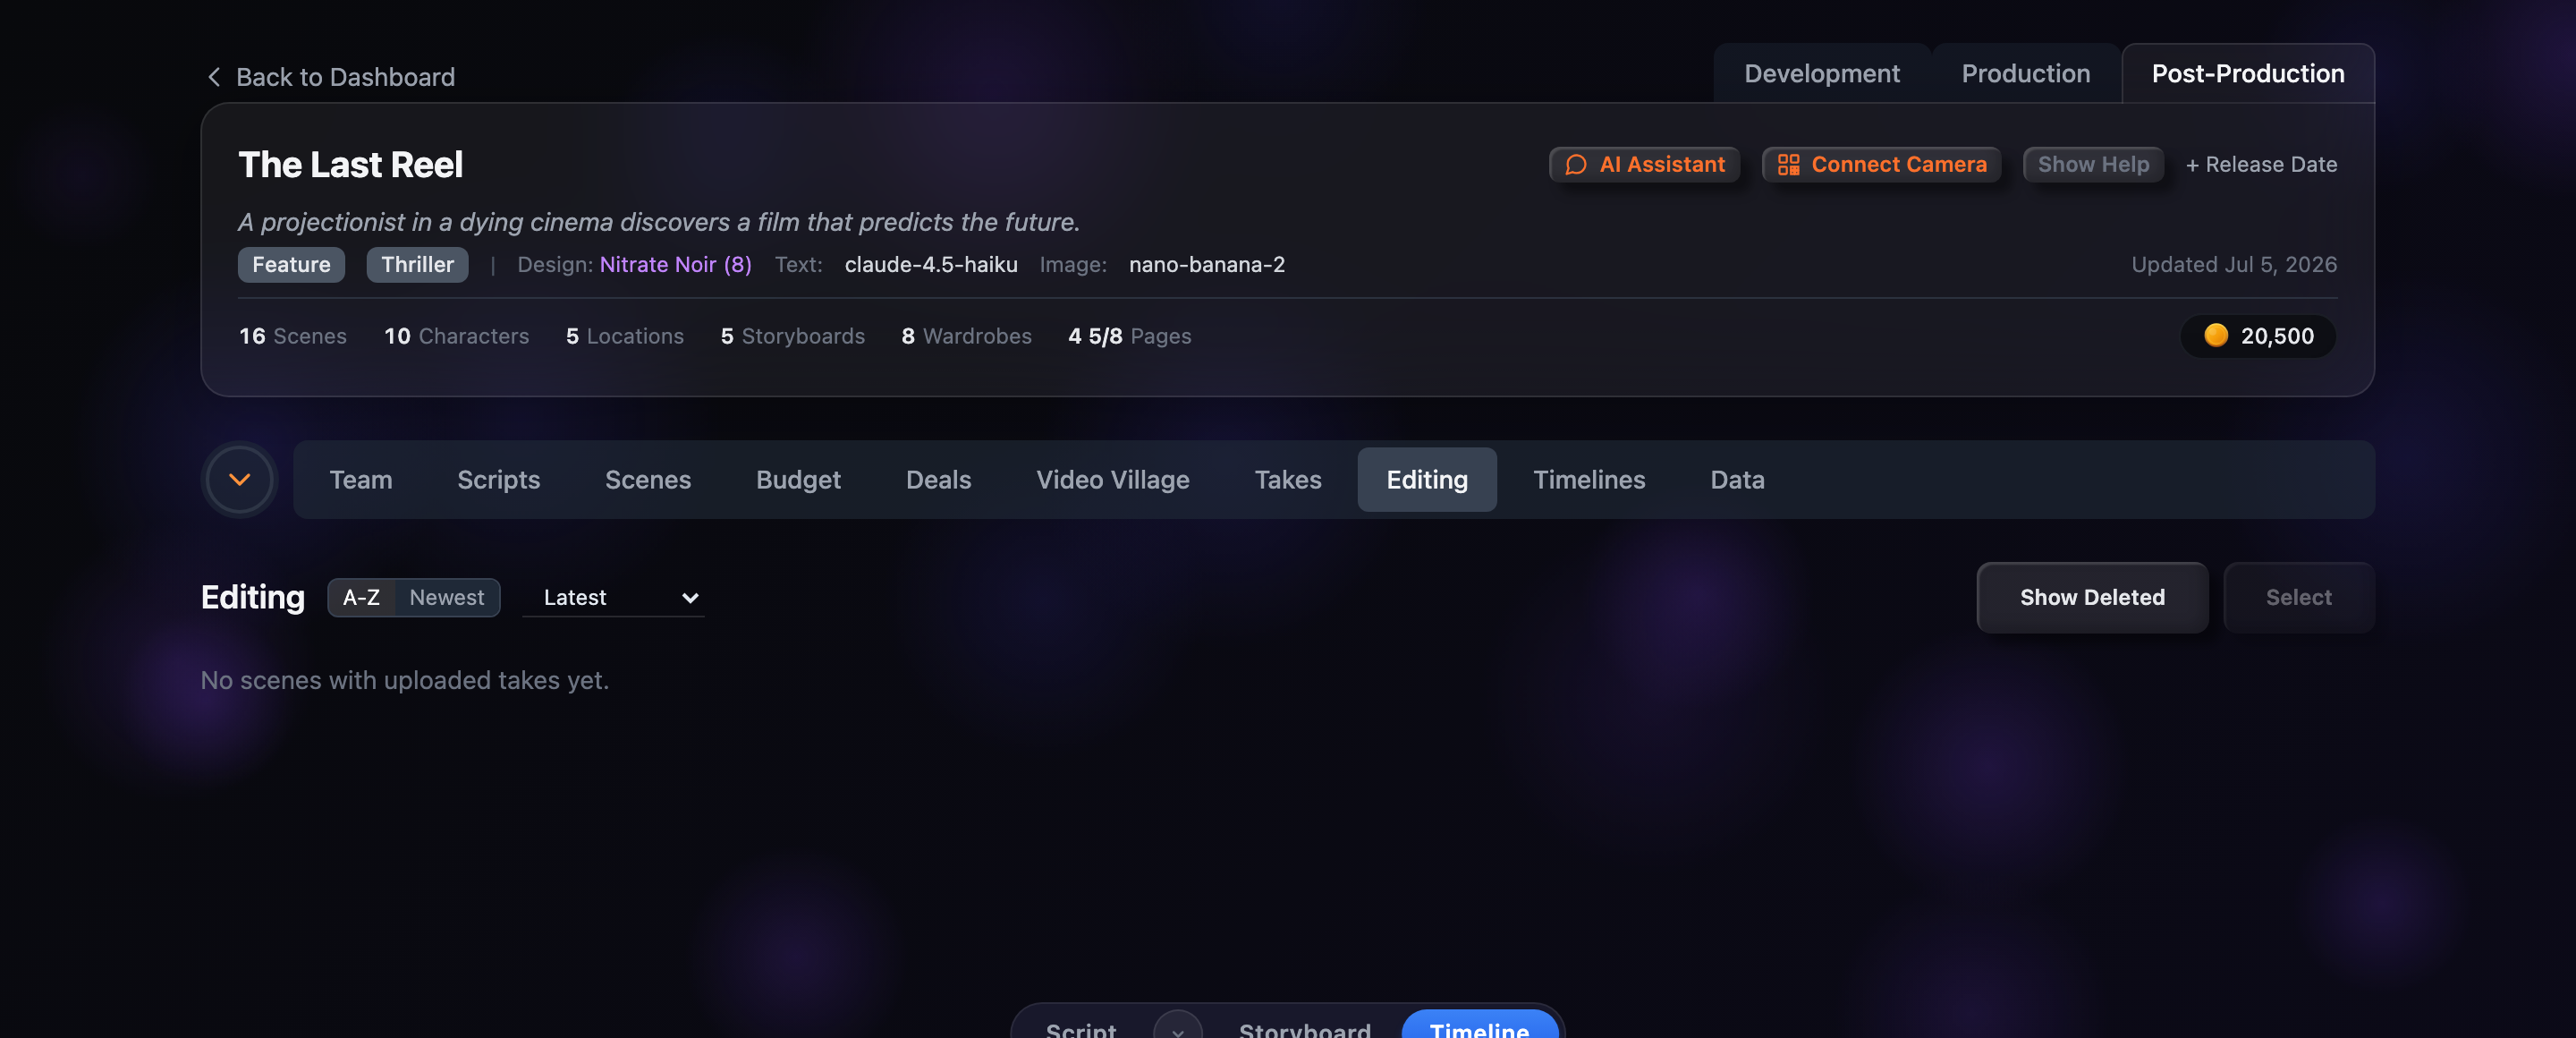
When a bin’s rough cut is ready, Export it to a Premiere or Final Cut project file and finish the edit in your NLE. The toolbar also lets you sort and filter the list, reveal deleted bins, and enter select mode to delete or restore bins in bulk.
Exporting to an Editor
Any bin with footage has an Export button. Click it to reveal two choices, then pick the one that matches your editor:
Premiere
Downloads an XML (xmeml) project file you can import into Adobe Premiere Pro.
Final Cut
Downloads an FCPXML project file for Apple Final Cut Pro.
The export describes the bin’s cut — its selected takes in order — so your editor opens with the rough assembly already laid out on a timeline. The file downloads straight to your machine, and a toast confirms which editor it was built for. If your plan doesn’t include export, you’ll be told rather than handed a file.
Sorting and Filtering
The toolbar at the top of the tab keeps a long list manageable:
Deleting and Restoring
Deleting a bin is a soft delete — it’s hidden, not destroyed, so nothing is lost by accident. The Show Deleted toggle brings hidden bins back into view; they appear dimmed and tagged Deleted, each with a Restore button. Toggle it off again to focus on your active cuts.
Select Mode & Bulk Actions
To act on several bins at once, press Select to enter select mode (or click a bin’s row number as a shortcut). A sticky action bar appears with Select All / Deselect and Invert to build your selection, and each bin gets a checkbox.
Bulk delete
With bins selected, Delete soft-deletes them all after a confirmation prompt that names how many you’re removing.
Bulk restore
While Show Deleted is on, the same bar offers Restore instead, bringing every selected bin back in one step.
Press Cancel to leave select mode and return to the normal list.