 cinemasetfree.com
Preparing a Callsheet
Click View on any day to open its callsheet. The page assembles the day’s call times, scenes, notes, and locations for you to review. Before you can download or send it, every location needs an address — then you can attach the shot list or storyboards and export the PDF.
Opening a Day
From the Callsheets tab, press View on a shoot day. The callsheet page opens with a header reading Day N Callsheet, a status badge (Draft or Sent), and the full date. Everything below is a live preview of what will be exported — the sections only appear when there’s data to show, so a bare day may start out nearly empty and fill in as you build out your schedule and shot list.
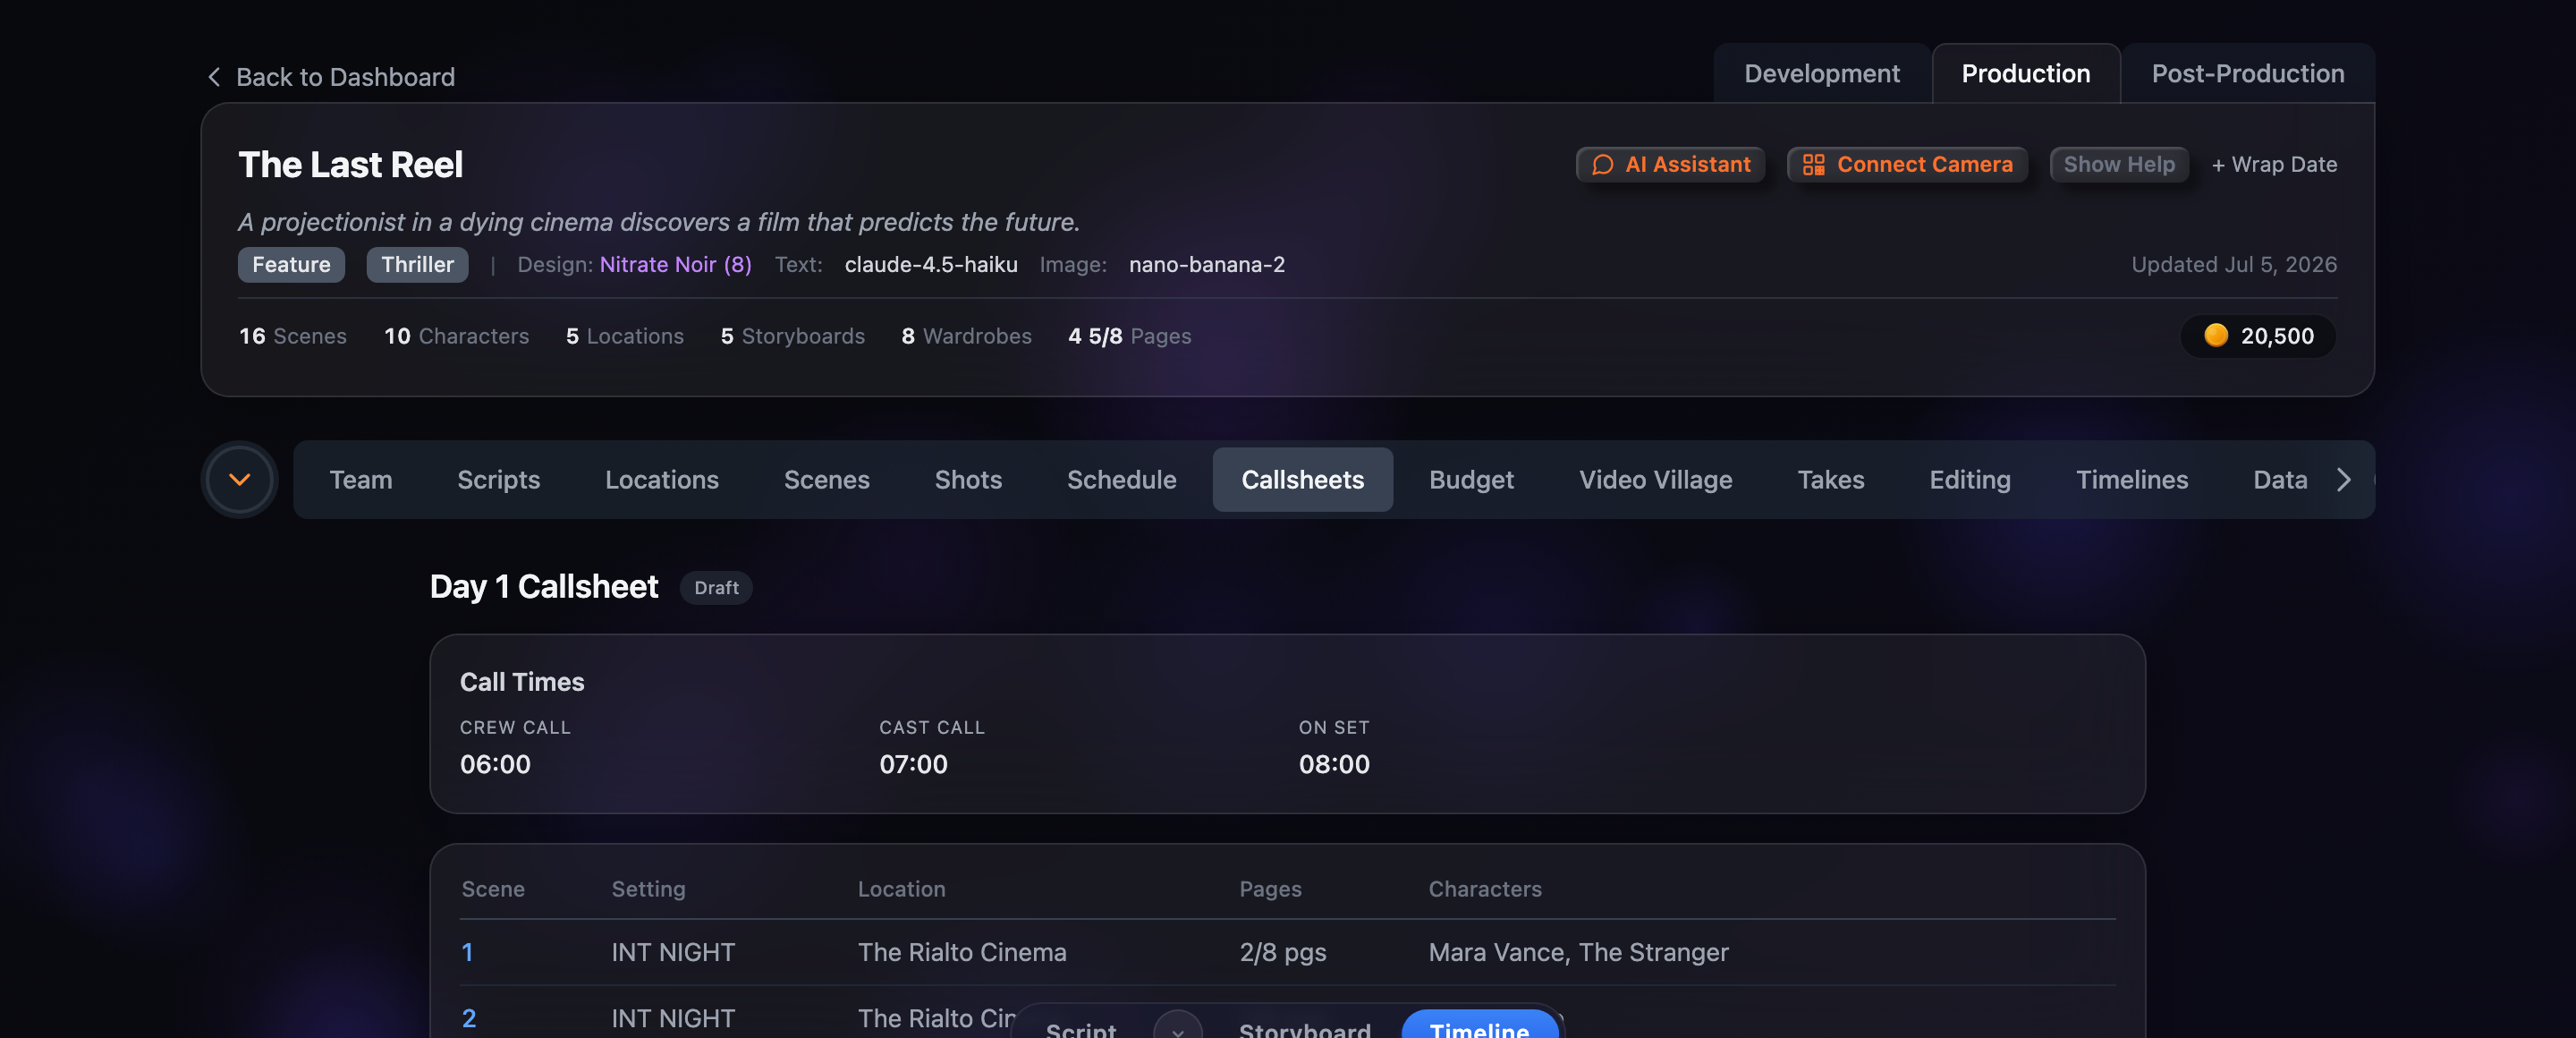
Call Times
The Call Times card shows up to four times for the day: Crew Call, Cast Call, On Set, and First Shot. These come straight from the shoot day you set on the Schedule tab, so to change them you edit the day in the schedule — only the times you’ve set are displayed.
Scenes
A table lists every scene scheduled for the day with its scene number, setting (INT/EXT plus time of day), location, page count (in eighths), and the characters that appear. Each row is clickable and jumps you to the Shots tab if you need to work on that scene’s coverage.
Day Notes
Anything you wrote in the shoot day’s notes on the Schedule tab shows up here in a Day Notes card — a good place for weather calls, special equipment, or anything the whole unit should know. The card only appears when the day has notes.
Locations
Each location the day shoots at gets a card, in order. A card shows the location name and address, a Permit Required badge where applicable, any contact (name, click-to-call phone, and email), permit and location notes, and a Nearby Services grid of scouted points of interest like hospitals and parking. When a day moves between two locations, a Company Move divider appears between the cards, with an approximate drive time whenever both locations have coordinates.
Completing Locations
Locations are the one thing you may need to finish before a callsheet can go out. Each card gives you the controls to do it:
Addresses are required. The Download PDF and Send Callsheet buttons stay disabled until every location on the day has an address. Hover a disabled button and it tells you: “Add addresses to all locations first.”
Attachments & the PDF
The action bar at the bottom holds two attachment toggles — Shot List and Storyboards. Switch either on (it turns solid indigo) to bundle it into the exported document. Then press Download PDF to open the generated callsheet in a new tab; it respects whichever attachments you’ve turned on. When you’re happy with the preview, Send Callsheet emails it to your team — covered in the next guide.